
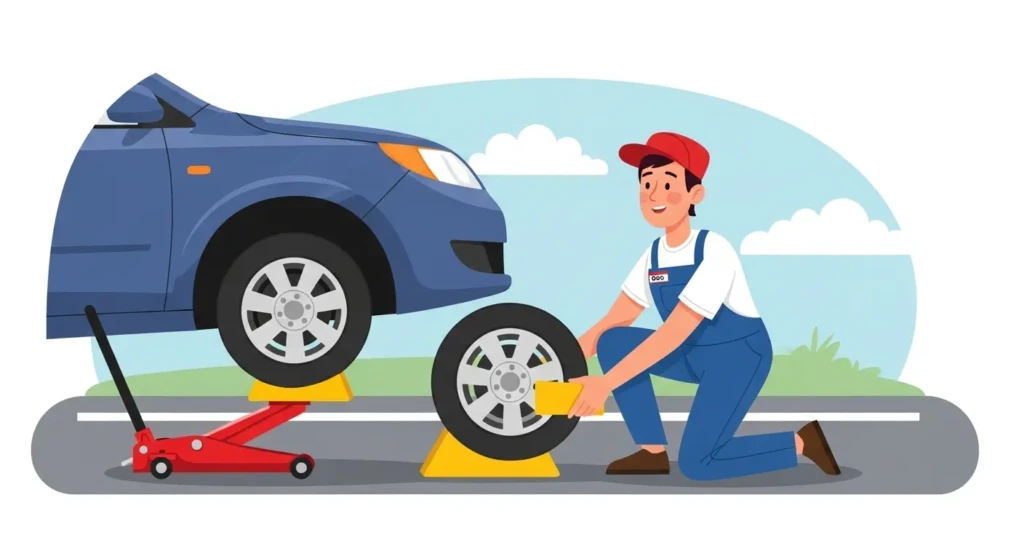
Imagine you’re cruising along your favorite highway, and suddenly you hear a loud thud—your tire has gone flat! While it may feel like a nightmare, changing a tire is a skill every driver should possess. Whether you’re in the middle of a road trip or simply running errands, knowing how to change a tire can save you time, money, and frustration. In this guide, we’ll walk you through each step of the tire-changing process, with easy-to-follow instructions and pro tips.
1. Ensure Safety First
Before you start working on your vehicle, it’s critical to prioritize safety. Find a flat surface to park your vehicle—this will prevent the car from shifting or rolling while you’re changing the tire. It’s best to avoid parking on sloped surfaces like hills or inclines. Once your car is parked, activate your hazard lights so that other drivers can clearly see that you are stationary and in need of assistance. Next, engage the parking brake to make sure your vehicle stays in place while you work on it.
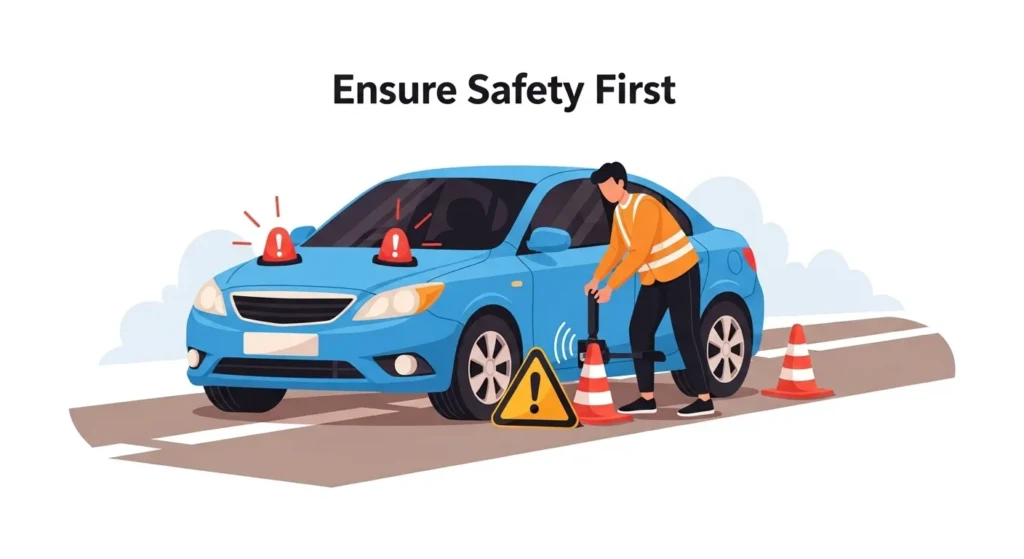
If you’re stuck on a highway or busy road, move as far away from traffic as possible. If you’re in an area with low visibility, consider using reflective warning triangles or additional road flares to warn other vehicles.
2. Gather Your Tools
Now that you’re in a safe position, it’s time to gather your tools. Having the correct tools ready can make the job smoother. Here’s a quick checklist:
- Spare tire (check that it’s fully inflated and in good condition).
- Jack (to lift the car).
- Lug wrench (to remove and tighten the lug nuts).
- Wheel chocks (to secure the vehicle from rolling).
- Gloves (to protect your hands).
- Flashlight (if you’re working in low light).
- Car manual (to refer to any model-specific instructions, especially the proper jacking points).

These items should always be kept in your vehicle, either in the trunk or under the car, depending on where your spare tire is stored. Make sure everything is in good working condition before proceeding.
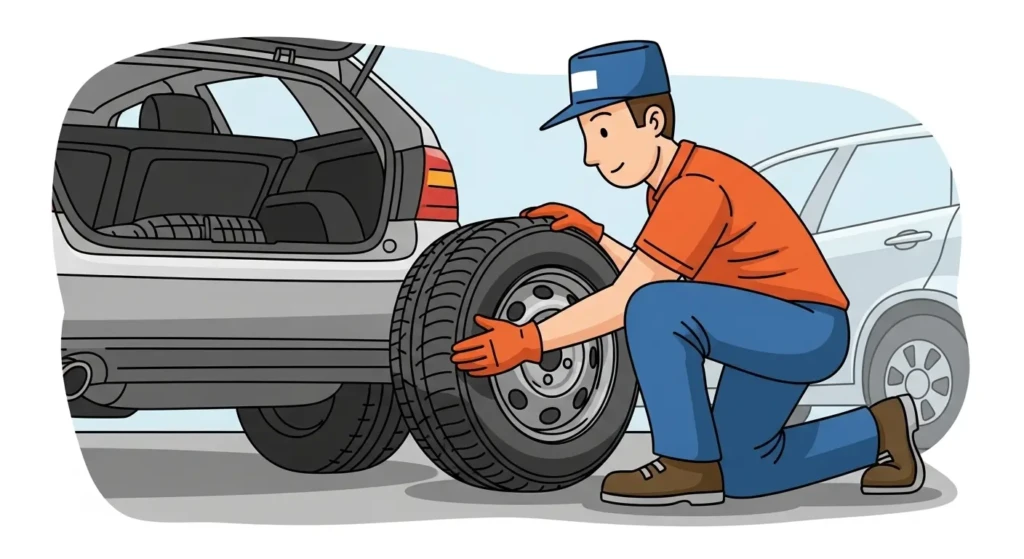
3. Check the Spare Tire
Before you begin, it’s essential to check the spare tire. Make sure the spare is properly inflated and the correct size for your vehicle. Often, the spare is stored in the trunk or under the vehicle. If your spare tire is a compact or temporary spare, it’s not meant for long-distance driving, so use it only to get to a professional tire repair shop.
In case you’re not sure about the tire’s condition, you can use a tire pressure gauge to verify that the spare tire has the correct air pressure. Keeping your spare tire in top shape is a key part of vehicle maintenance.
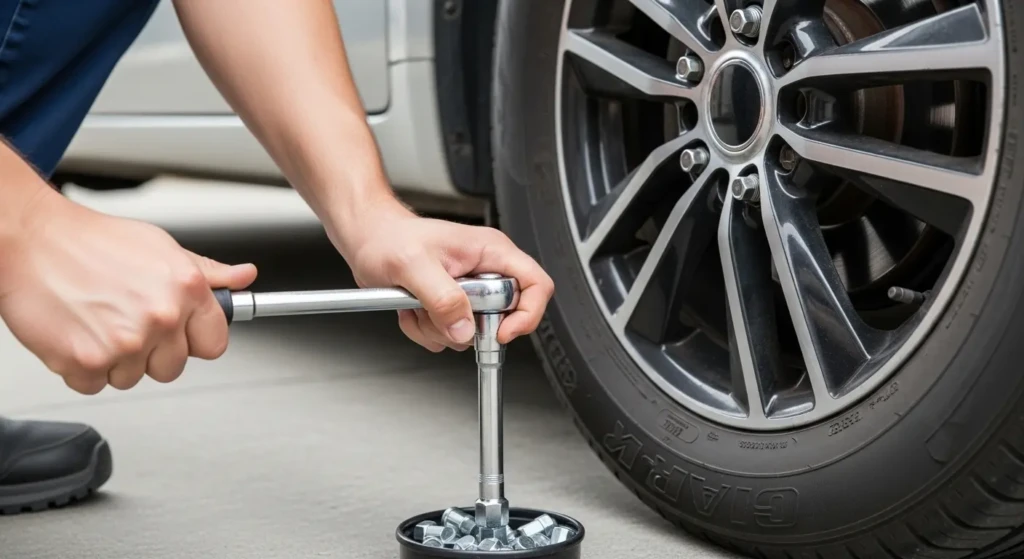
4. Loosen the Lug Nuts (Before Lifting the Car)
One of the first tasks you’ll want to do is loosen the lug nuts that hold the flat tire in place. It’s crucial to do this step while the vehicle is still on the ground, as it provides more leverage. Use the lug wrench to rotate each lug nut counterclockwise. Turn them just enough to break their resistance, but don’t remove them yet—just loosen them slightly.
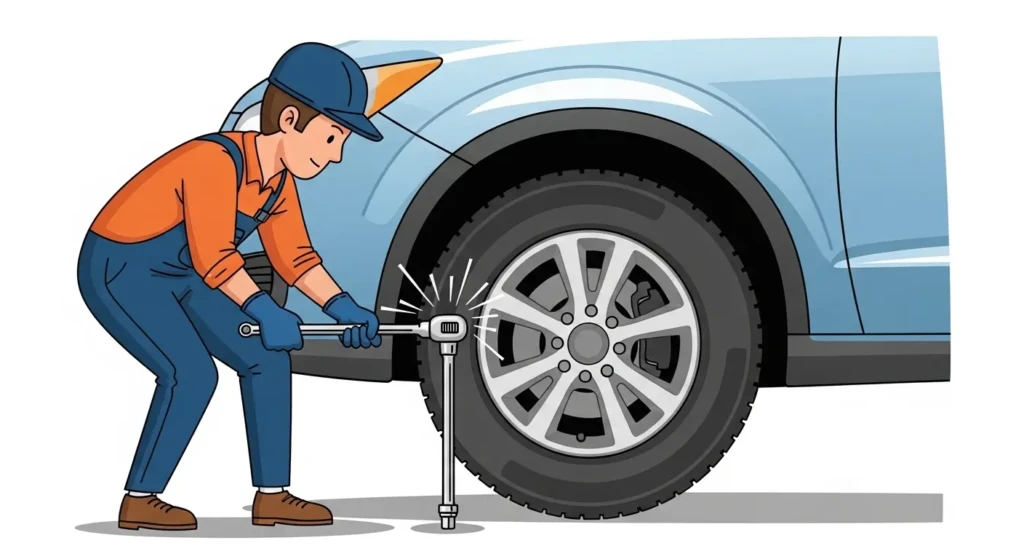
If the lug nuts are particularly tight, use your body weight to press down on the wrench. Applying more force will make it easier to loosen the nuts. If they’re still stuck, you can tap the wrench handle gently with a rubber mallet to help break the nut free.
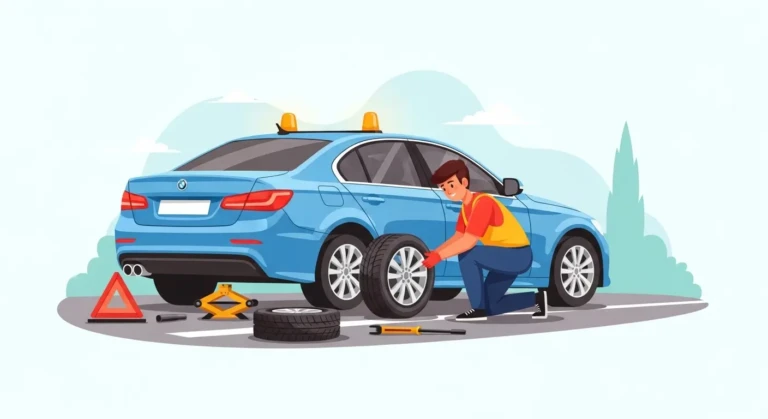
5. Position the Jack Under the Car
The next step is to raise the vehicle using the car jack. Every vehicle has a specific jacking point, usually located near the wheel well. You can find this information in your car manual. The jack must be placed correctly to prevent damage to your vehicle.
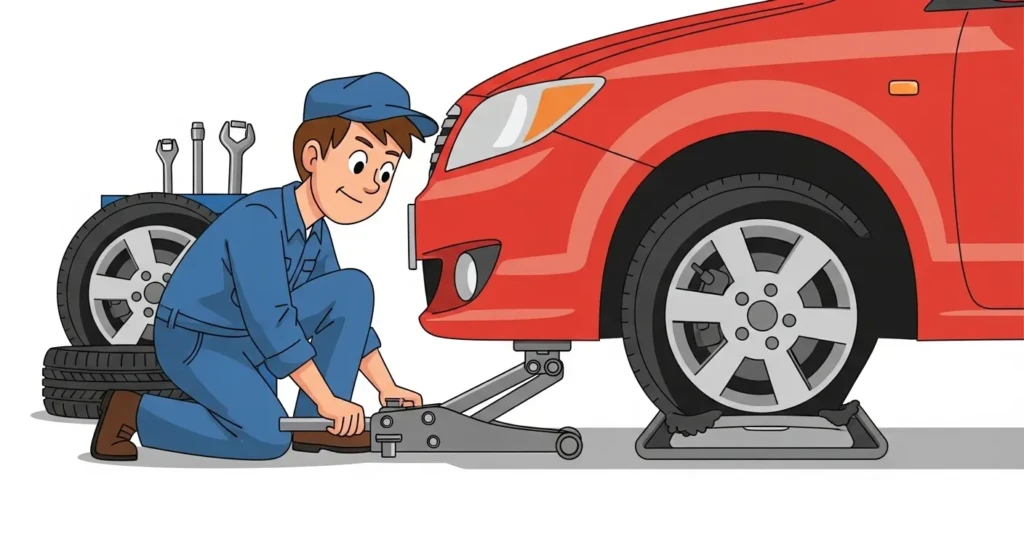
Position the jack directly under the jacking point and ensure it’s aligned properly. Many vehicles come with a scissor jack, while others may have a hydraulic jack. Both serve the same purpose, but be sure to lift the car slowly and steadily to avoid instability. Continue raising the car until the flat tire is off the ground.
6. Lift the Car Off the Ground
Using the jack, continue to raise the car until the flat tire is completely elevated. Ensure there is enough clearance for the removal of the tire and for the spare tire to be placed. It’s essential to raise the car just enough for the flat tire to come off, without going too high, which could risk toppling the vehicle.
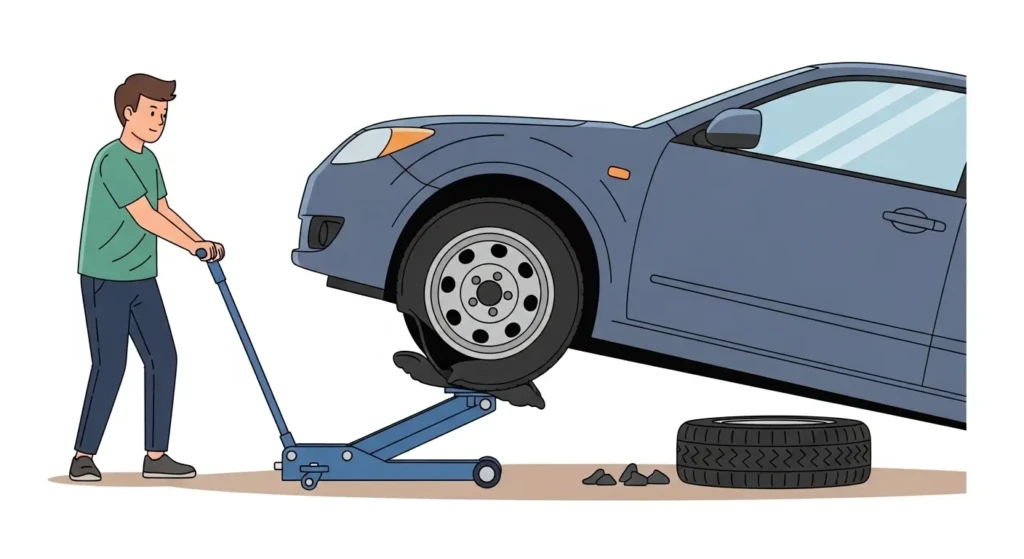
Once the car is sufficiently lifted, it’s a good idea to double-check the stability of the car. If you feel the car is rocking or tilting, adjust the jack or reposition it to ensure that the car is lifted straight and level.
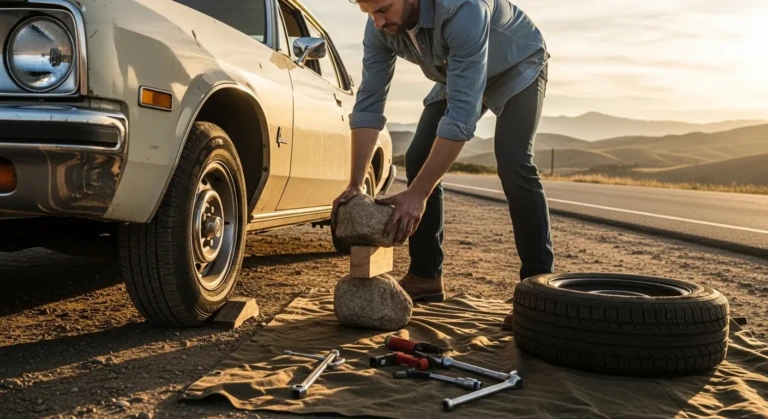
7. Place the Wheel Chocks
To enhance safety, place wheel chocks behind the wheels that are still on the ground. This helps prevent the car from rolling forward or backward while you work on it. If you’re in a particularly busy or sloped area, using wheel chocks is essential for vehicle stability. This simple step can prevent accidents from occurring while you’re changing the tire.
8. Remove the Lug Nuts
Now that the car is safely lifted, it’s time to remove the lug nuts completely. Using the lug wrench, carefully unscrew each lug nut and set them aside. To avoid losing them, you can place them in a small container or on the ground next to the tire. Be cautious—these nuts are often heavy-duty, so don’t let them slip out of your hands.
Remember, these lug nuts are critical for holding the tire in place, so keep track of them and make sure not to damage them.
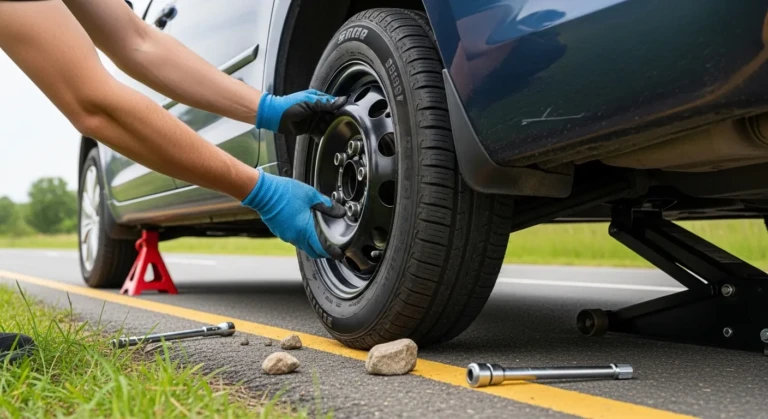
9. Take Off the Flat Tire
With the lug nuts removed, you can now carefully remove the flat tire from the wheel hub. Depending on the weight and size of your tire, you may need a bit of extra force to break the seal. Gently grip the tire with both hands and pull it off the wheel hub. Once you’ve removed the flat, set it aside out of your way.
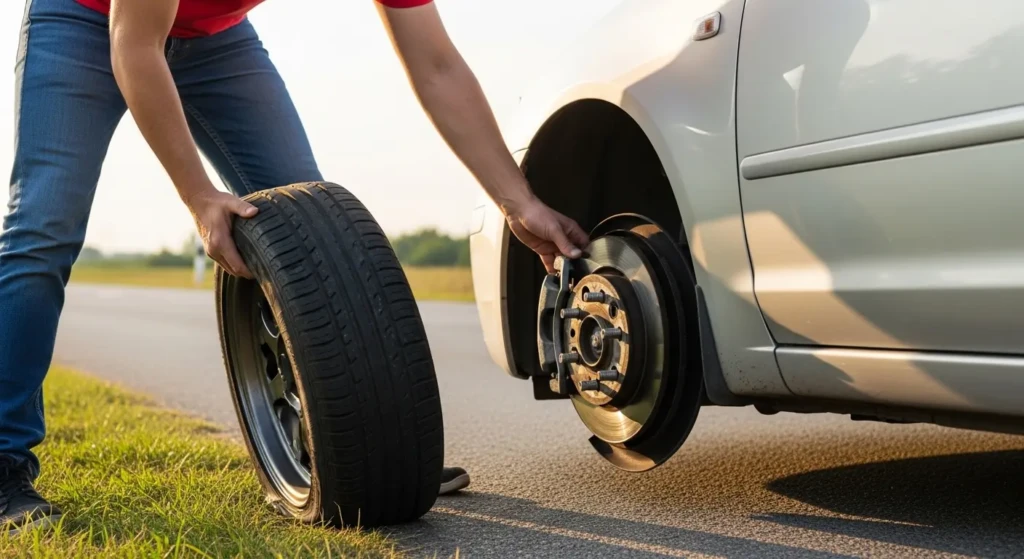
10. Align the Spare Tire
Now, it’s time to put the spare tire in place. Lift the spare tire onto the wheel hub and align the bolt holes of the tire with the lug bolts on the wheel hub. It’s important to ensure the tire is aligned correctly so that it can be securely fitted onto the car. If the spare tire doesn’t fit easily, double-check the alignment of the bolt holes.
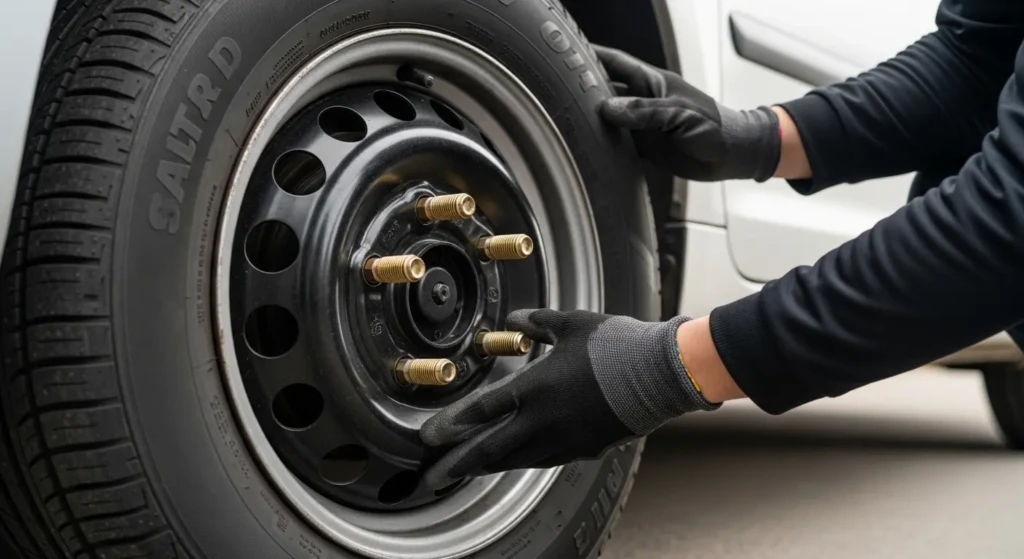
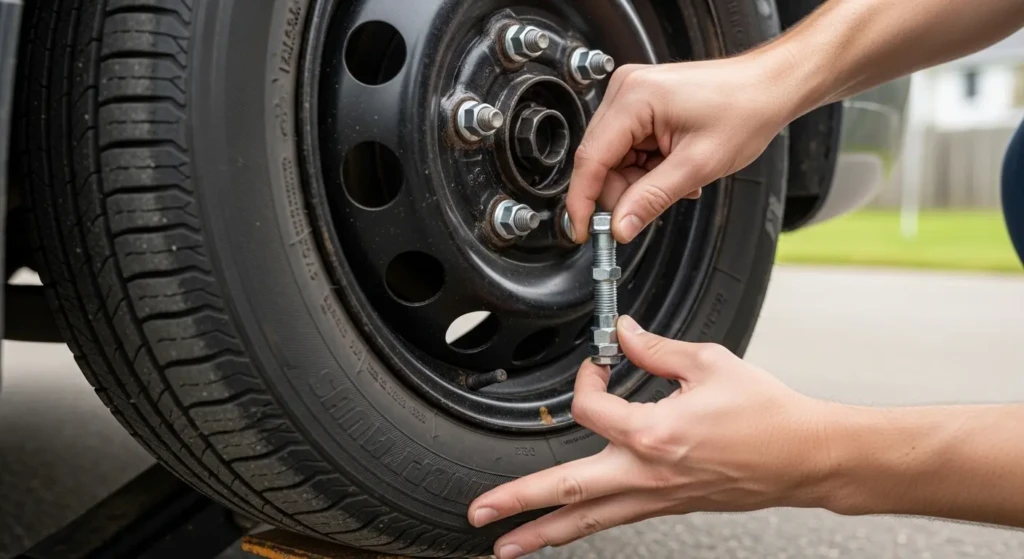
11. Hand-Tighten the Lug Nuts
With the spare tire in place, it’s time to hand-tighten the lug nuts onto the bolts. This step helps ensure the lug nuts don’t cross-thread, which could make it difficult to secure the tire later. Thread each lug nut by hand, but don’t fully tighten them yet. This allows you to adjust the position of the tire if necessary.
12. Lower the Car Slightly
Before tightening the lug nuts fully, lower the jack just enough so that the spare tire makes light contact with the ground. At this stage, the tire should be slightly bearing the weight of the vehicle, but the jack should still be holding most of it. This ensures that the tire is secure when you start tightening the nuts.
13. Tighten the Lug Nuts in a Star Pattern
It’s now time to tighten the lug nuts. The best way to do this is in a star or crisscross pattern. This ensures that the tire is mounted evenly and that the pressure is distributed across the entire surface. Start by tightening one lug nut, then move across the tire to the opposite lug nut. Continue tightening in this pattern, working your way around the tire. This helps ensure an even and secure fit.
14. Fully Lower the Car
Once the lug nuts are tightly secured, it’s time to lower the car completely. Use the jack to bring the car back down to the ground slowly. Once the car is fully lowered, remove the jack from beneath the vehicle. Now that the vehicle is back on the ground, you can check to make sure the spare tire is securely in place.
15. Double-Check the Tightness of the Lug Nuts
Before you hit the road, it’s important to double-check the tightness of the lug nuts one more time. Use your lug wrench to ensure each nut is tightened to the correct level. This prevents the lug nuts from coming loose while you’re driving. Tighten any that feel loose, but be careful not to overtighten them.
Conclusion
Congratulations, you’ve successfully changed your tire! With these 15 simple steps, you can handle a roadside emergency like a seasoned pro. Remember, a spare tire is a temporary solution, so make sure to get your flat repaired as soon as possible. Always check the condition of your spare tire regularly to ensure it’s ready for use when needed. Safe travels, and enjoy the peace of mind that comes with knowing how to handle a flat tire.