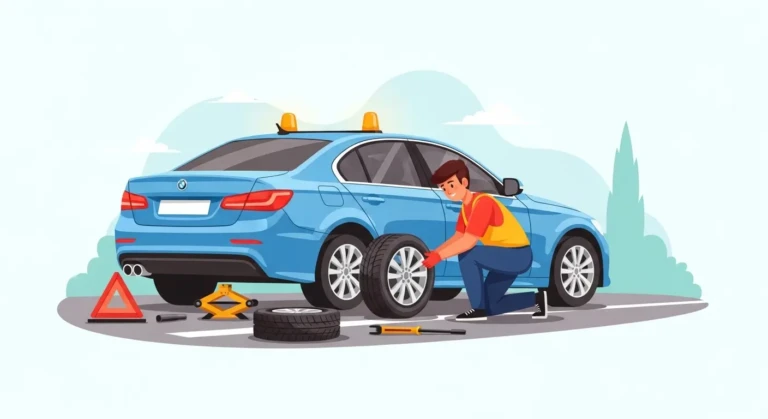
Working on your car at home can save time and money, but using a car jack incorrectly can be dangerous. A vehicle weighs thousands of pounds, and improper lifting can lead to serious accidents. Whether you are changing a tire, inspecting the brakes, or performing basic maintenance, knowing how to use a car jack safely is essential.
Many drivers keep a car jack in their trunk but rarely learn the correct method to operate it. The good news is that using a jack safely is not difficult when you follow the right steps. The key is preparation, proper positioning, and ensuring the vehicle remains stable throughout the process.
In this guide, you will learn the top 10 safe methods to use a car jack along with practical tips that help prevent accidents. These steps are commonly recommended by professional mechanics and automotive safety experts.
1. Park the Car on a Flat and Stable Surface
Before lifting your vehicle, the most important step is ensuring the car is parked on a flat, solid surface. Uneven or sloped ground can cause the vehicle to shift or roll while it is being lifted, which can be extremely dangerous.
Always park your car on a level driveway, garage floor, or paved road. Avoid using a jack on dirt, gravel, grass, or sand because these surfaces are unstable and the jack may sink into the ground.
Once you find a stable surface, put the vehicle in park (automatic transmission) or first gear (manual transmission). This helps prevent the car from moving when the wheels are lifted off the ground.
You should also turn off the engine and remove the keys before starting the lifting process. This prevents accidental movement and ensures complete safety.
Professional mechanics emphasize this step because many jack accidents occur simply due to unstable ground. Spending a few extra seconds to check the surface can prevent serious injury and damage to your vehicle.
2. Turn on Hazard Lights and Ensure Visibility
Safety does not only involve the car itself; it also includes your surrounding environment. If you are using a jack on the roadside, you must make sure other drivers can clearly see your vehicle.
The first step is to turn on your hazard lights immediately after pulling over. This alerts nearby drivers that your car is stationary and there may be a roadside emergency.
If you have reflective warning triangles or cones, place them a few meters behind the vehicle. These tools significantly increase visibility, especially at night or during bad weather.
Wearing a reflective safety vest is another smart precaution if you are working on a busy road. Many professional roadside assistance technicians use this method to reduce the risk of accidents.
Visibility is often overlooked, but it plays a huge role in roadside safety. Ensuring that other drivers can clearly see your vehicle helps protect you while you work underneath or beside the car.
3. Engage the Parking Brake Firmly
Engaging the parking brake is one of the simplest yet most critical safety steps when using a car jack.
The parking brake locks the rear wheels and prevents the vehicle from rolling forward or backward. Even on flat surfaces, small movements can occur due to gravity or external forces.
Before placing the jack under the vehicle, pull the parking brake lever fully or press the electronic parking brake button if your vehicle has one. Make sure the brake indicator light appears on your dashboard.
If the parking brake is not engaged, the vehicle may move slightly when the jack begins lifting the car. Even a small shift can cause the jack to lose balance.
Many professional mechanics treat the parking brake as a mandatory safety rule, not just a suggestion. It provides an additional layer of stability that keeps the car secure during maintenance tasks.
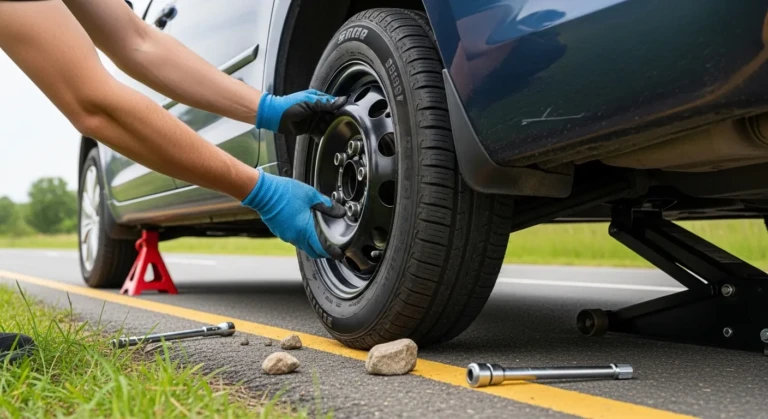
4. Place Wheel Chocks to Prevent Movement
Wheel chocks are small wedges placed behind or in front of tires to prevent the car from rolling. They are inexpensive tools but extremely effective for improving safety.
If you are lifting the front of the car, place wheel chocks behind the rear tires. If you are lifting the rear of the car, place the chocks in front of the front wheels.
These wedges create a physical barrier that stops the vehicle from moving even if the parking brake fails or the ground slightly shifts.
In emergency situations where wheel chocks are not available, you can use bricks, wooden blocks, or large stones as temporary substitutes. However, proper rubber wheel chocks are more reliable and provide better grip.
Professional automotive technicians always combine parking brakes with wheel chocks to ensure maximum safety. Using both together significantly reduces the risk of unexpected movement.
5. Locate the Correct Jack Points on Your Vehicle
Every vehicle has specific jack points designed to support the weight of the car safely. These reinforced areas are usually located near the wheels along the frame of the vehicle.
Using the wrong location can damage the car’s frame, bend metal components, or even cause the vehicle to slip off the jack.
Most cars include jack point diagrams in the owner’s manual. These locations are often marked with small notches or arrows on the underside of the vehicle.
Common jack point areas include:
- Behind the front wheels
- In front of the rear wheels
- Reinforced frame rails
If you are unsure about the correct lifting point, always check the manual or look for the manufacturer’s markings.
Using the correct jack points ensures that the vehicle’s weight is evenly distributed, making the lifting process safer and more stable.
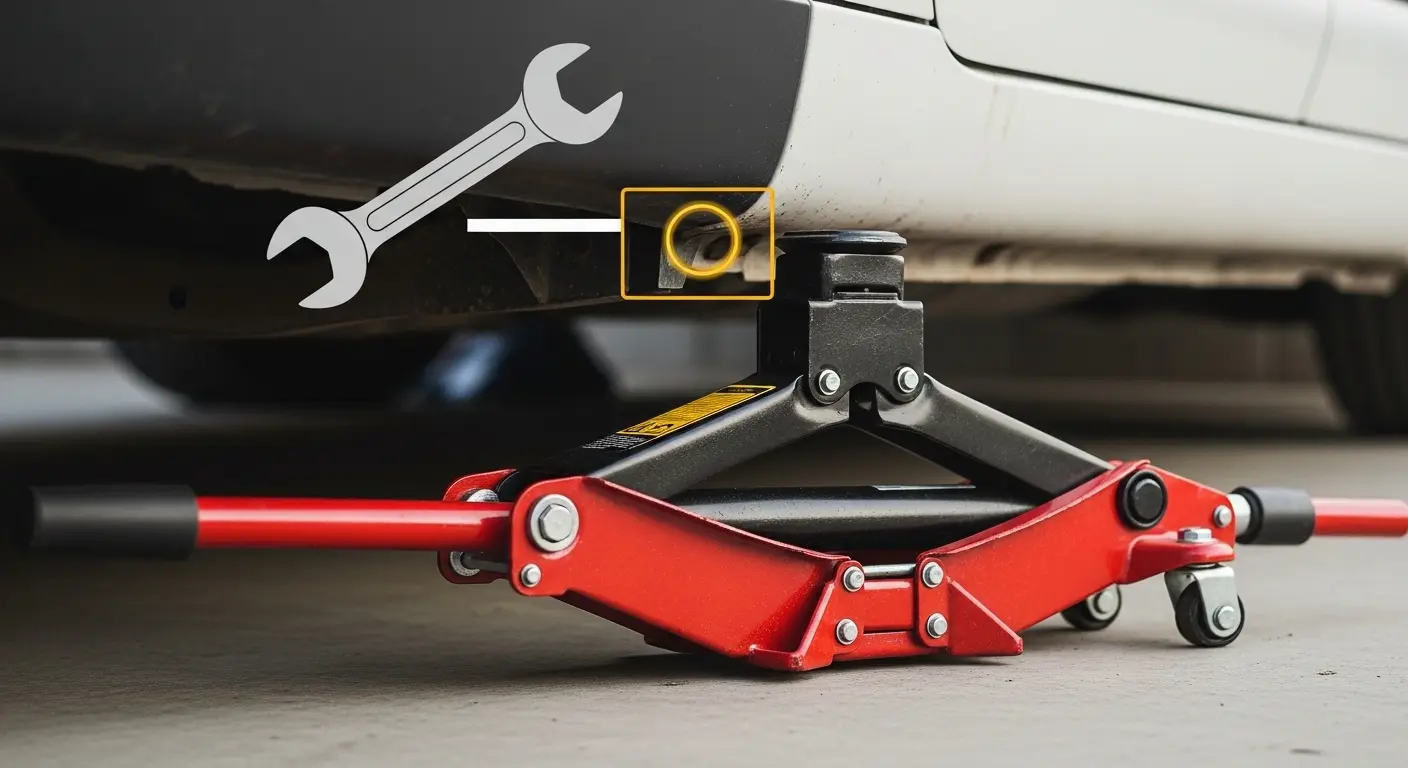
6. Position the Car Jack Properly
Once you identify the correct jack point, the next step is positioning the jack directly underneath it.
The jack should sit flat on the ground and align perfectly with the lifting point. If the jack is angled or tilted, it may slip when the vehicle begins to rise.
Most standard vehicles come with a scissor jack, while garages often use hydraulic floor jacks. Regardless of the type, the lifting pad should contact the reinforced metal area of the car.
Before raising the car completely, lift it slightly and check whether the jack remains stable. If you notice any tilting or instability, lower the car and reposition the jack.
Correct jack placement helps ensure that the vehicle lifts smoothly without sudden shifts or imbalance.
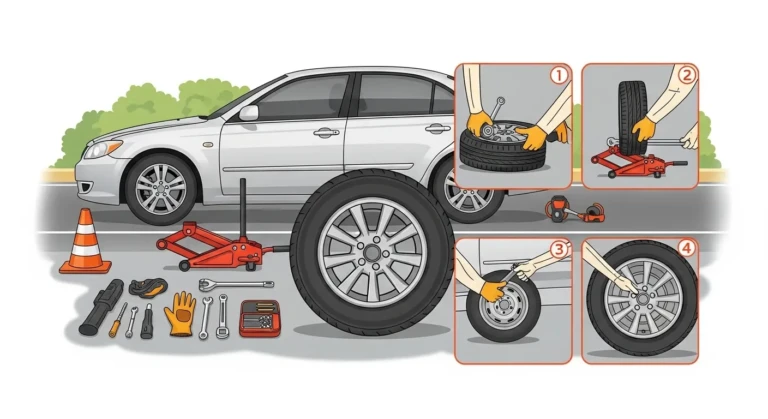
7. Lift the Vehicle Slowly and Carefully
Raising the car too quickly can cause instability and make the jack lose balance. The safest method is to lift the vehicle slowly and steadily.
If you are using a scissor jack, turn the handle gradually and watch the jack as it expands. With a hydraulic jack, pump the handle slowly while keeping an eye on the lifting point.
During the lifting process, occasionally pause and check:
- Whether the jack remains vertical
- Whether the car is lifting evenly
- Whether the ground remains stable
If anything looks unstable, stop immediately and lower the car to reposition the jack.
Patience is key when lifting a vehicle. Taking your time ensures that the weight is distributed properly and reduces the risk of accidents.
8. Use Jack Stands for Additional Safety
A car jack alone should never be trusted to hold the vehicle for long periods. Jacks are designed for lifting, not for supporting the car while you work underneath it.
This is why professional mechanics always use jack stands after lifting the vehicle.
Once the car reaches the desired height, place jack stands under the recommended support points and slowly lower the vehicle onto them. The stands will carry the weight of the car while the jack acts as a backup.
Jack stands provide strong, stable support and significantly reduce the risk of the vehicle falling.
If you plan to work under your car, jack stands are not optional—they are a critical safety requirement.
9. Never Put Any Part of Your Body Under an Unsupported Car
One of the most important safety rules when using a car jack is never placing your body under a vehicle supported only by a jack.
Mechanical failure, ground shifts, or incorrect jack placement can cause the vehicle to fall suddenly.
If you must go underneath the car, always ensure that:
- Jack stands are securely placed
- The car is stable and not rocking
- The jack remains in position as a backup
Many accidents occur when people ignore this rule during quick repairs.
Professional technicians treat this guideline very seriously because even a small mistake can lead to severe injury.
10. Lower the Vehicle Slowly After Finishing the Work
After completing the repair or tire change, the final step is lowering the car safely.
First remove any tools, spare parts, or obstacles from under the vehicle. Then slowly operate the jack to bring the car back down to the ground.
If you used jack stands, raise the car slightly to remove them before lowering the vehicle fully.
Lowering the car too quickly can cause sudden impact and damage the suspension system or jack.
Once the car is back on the ground, remove the jack and wheel chocks, release the parking brake, and double-check that all tools are stored properly.
Taking your time during this final step ensures the entire process ends safely.
Conclusion
Using a car jack may seem simple, but it requires careful attention to safety procedures. Following the correct steps—such as parking on level ground, engaging the parking brake, using wheel chocks, and positioning the jack properly—can prevent serious accidents.
The top 10 safe methods for using a car jack help ensure that the vehicle remains stable during maintenance tasks like tire changes or inspections. Professional mechanics always emphasize using jack stands and lifting the vehicle slowly to maintain control throughout the process.
By following these guidelines, you can confidently handle basic car repairs while keeping yourself and your vehicle safe.